Assign & Print
Once you have the contract completed and SAVED you can assign the load and print the contract/confirmation and the schedule.
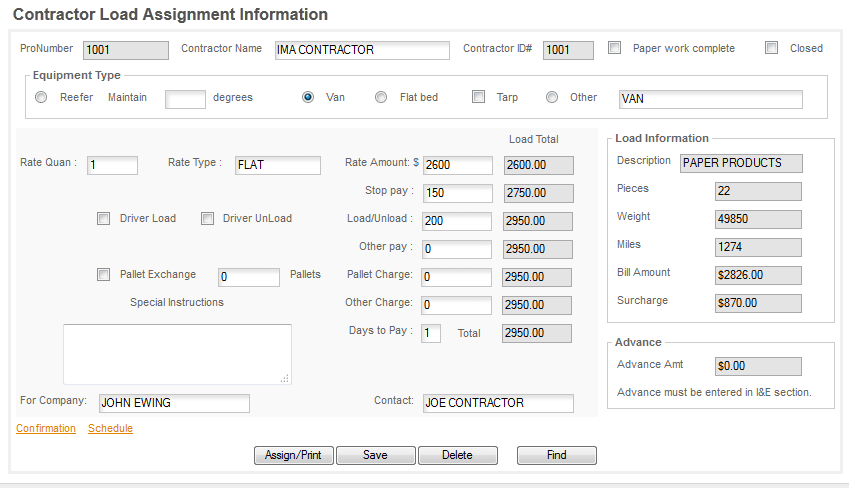
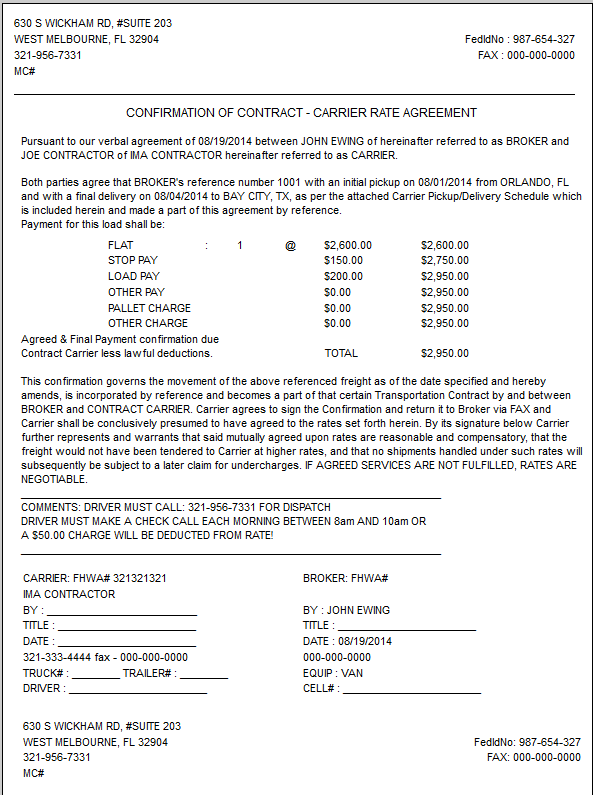
The contract will reflect the amounts and terms that are shown in the Load Assignment Information page. For our samples are printed using the settings and values in the form above.
The first thing to happen when you click on Assign/Print will be the Bill will be created -

and you'll get a message that a bill was created in Income & Expenses, the amount and when it will be due.
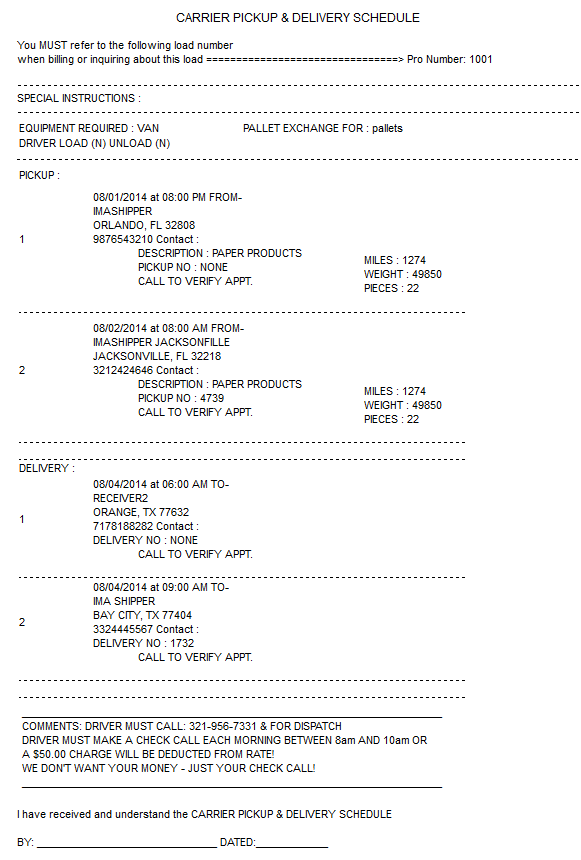
Next the confirmation and schedule will print to the report writer. You can email them or print them out as needed from there.
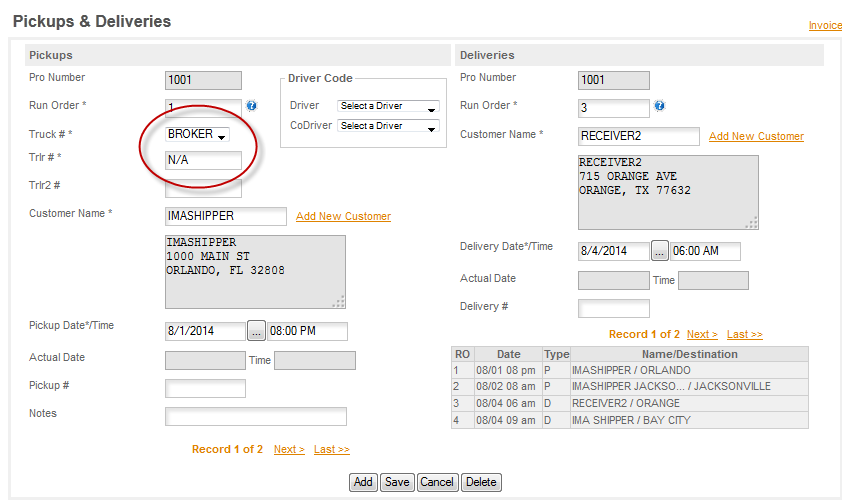
The load has now been assigned to truck BROKER in the Loads section -
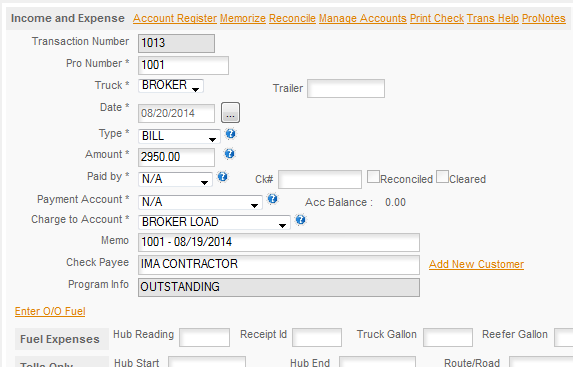
The Bill has been created in Income & Expenses and will show up for payment on it's due date -
The next step will be dispatching the load. Before we go there though let's take a look at how to edit the contract and/or the schedule.